Customizing Agefence's Age Verification Popup
In this tutorial, we'll guide you through customizing Agefence's age verification popup, helping you tailor it to match your store's branding.
Open Airnote in Shopify
- From your Shopify admin dashboard, navigate to Airnote.
- Select the Customization tab.
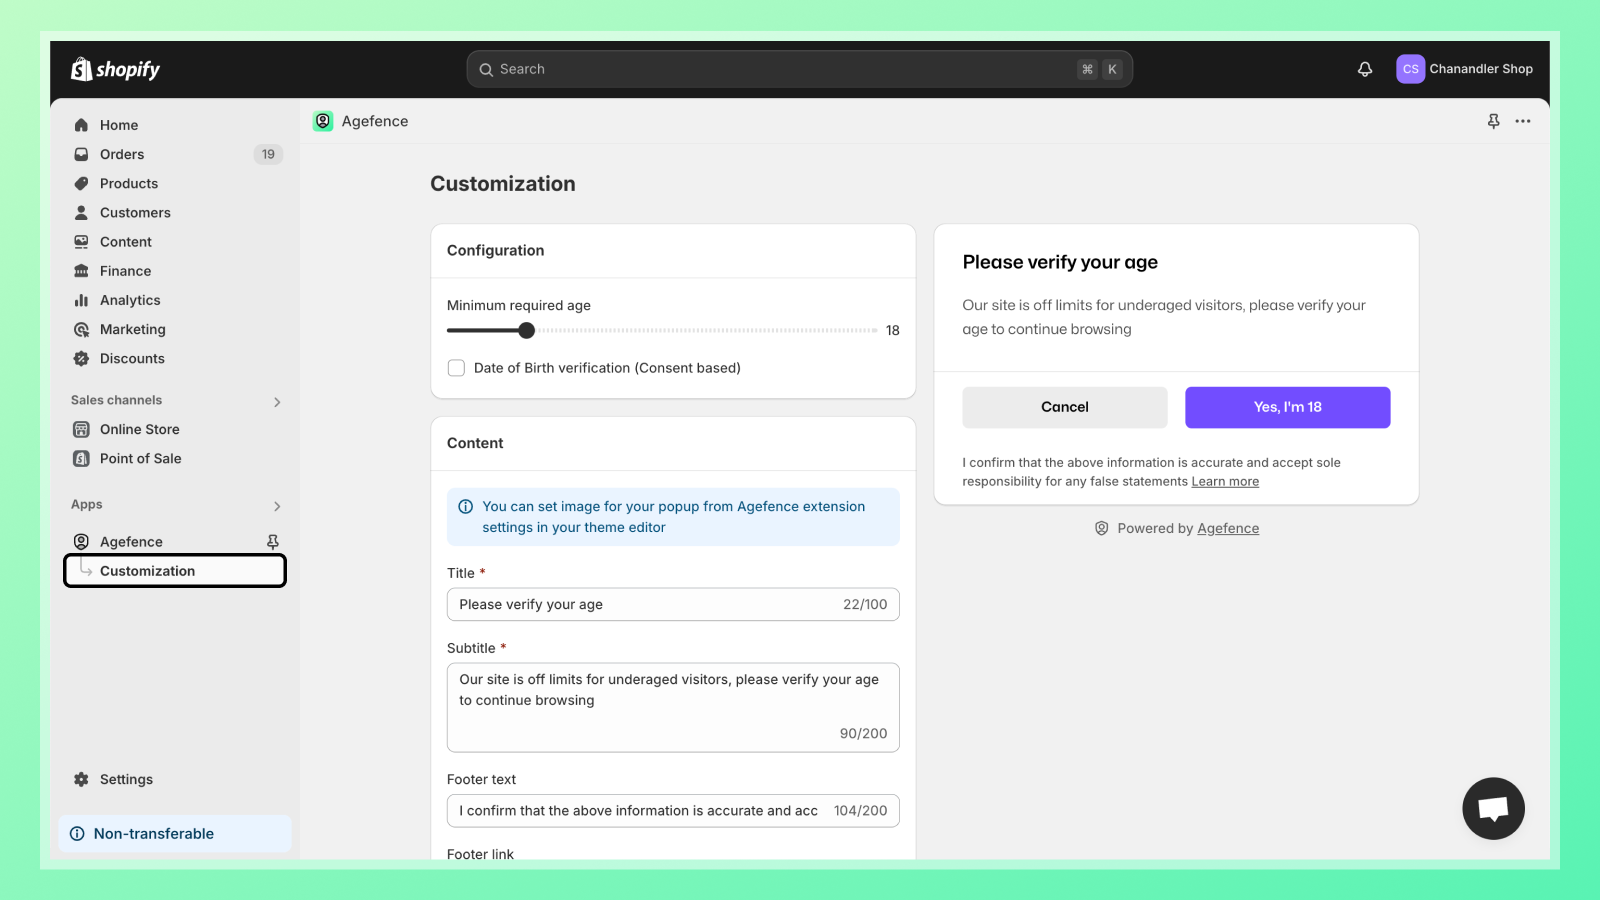
Set the Minimum Age Requirement
- Adjust the Minimum required age slider to the desired age for access.
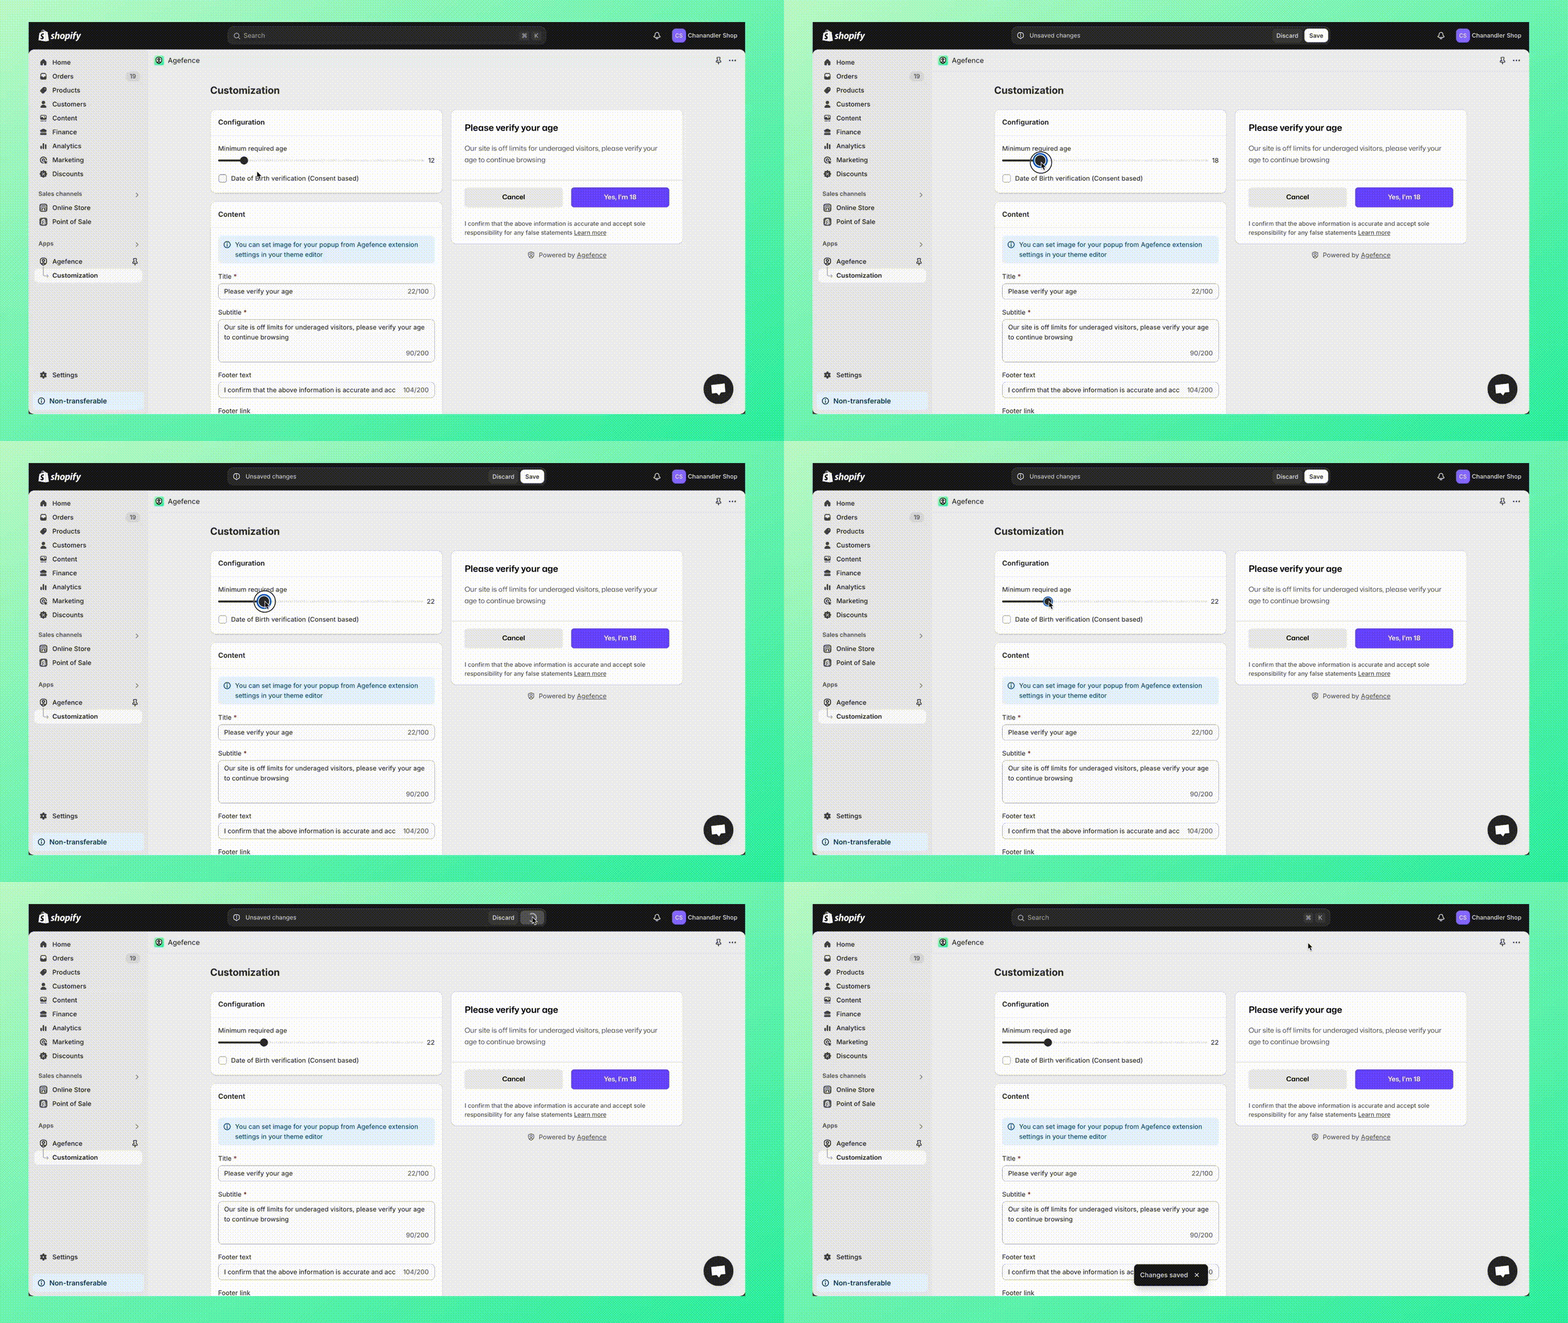
Enable Date of Birth Verification
- Check the box labeled Date of Birth Verification to allow visitors to input their birthdate for verification.
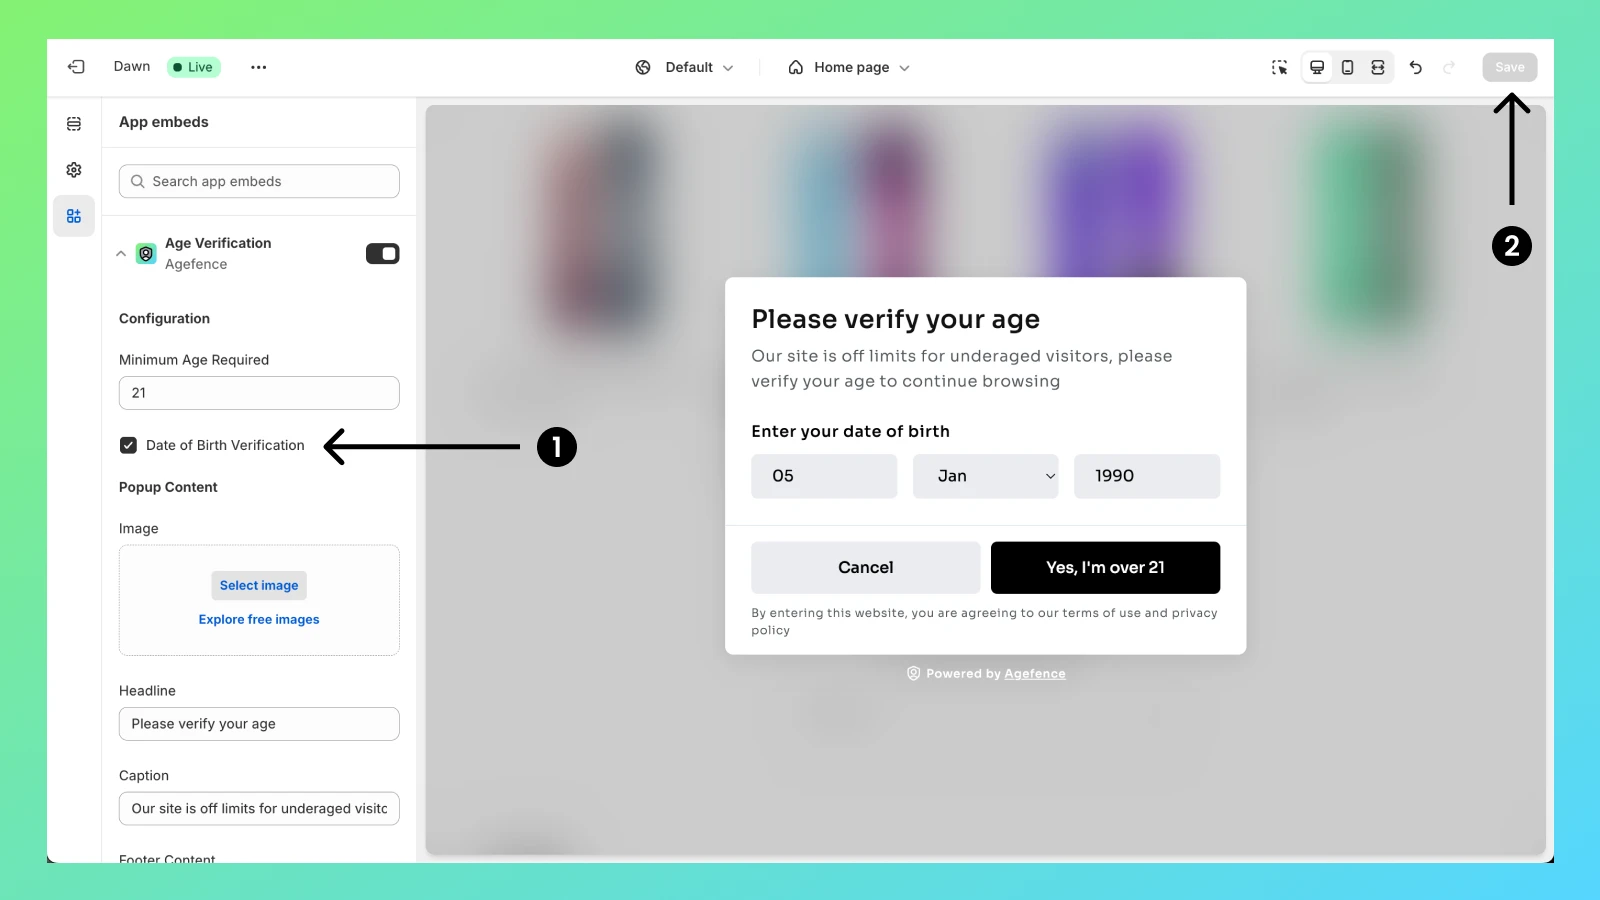
Add a Banner Image
- Go to Theme Editor > App Embeds tab > Age Verification.
- Under Cover image, click Select image to choose your banner.
- Once selected, click Done, and then Save your changes.
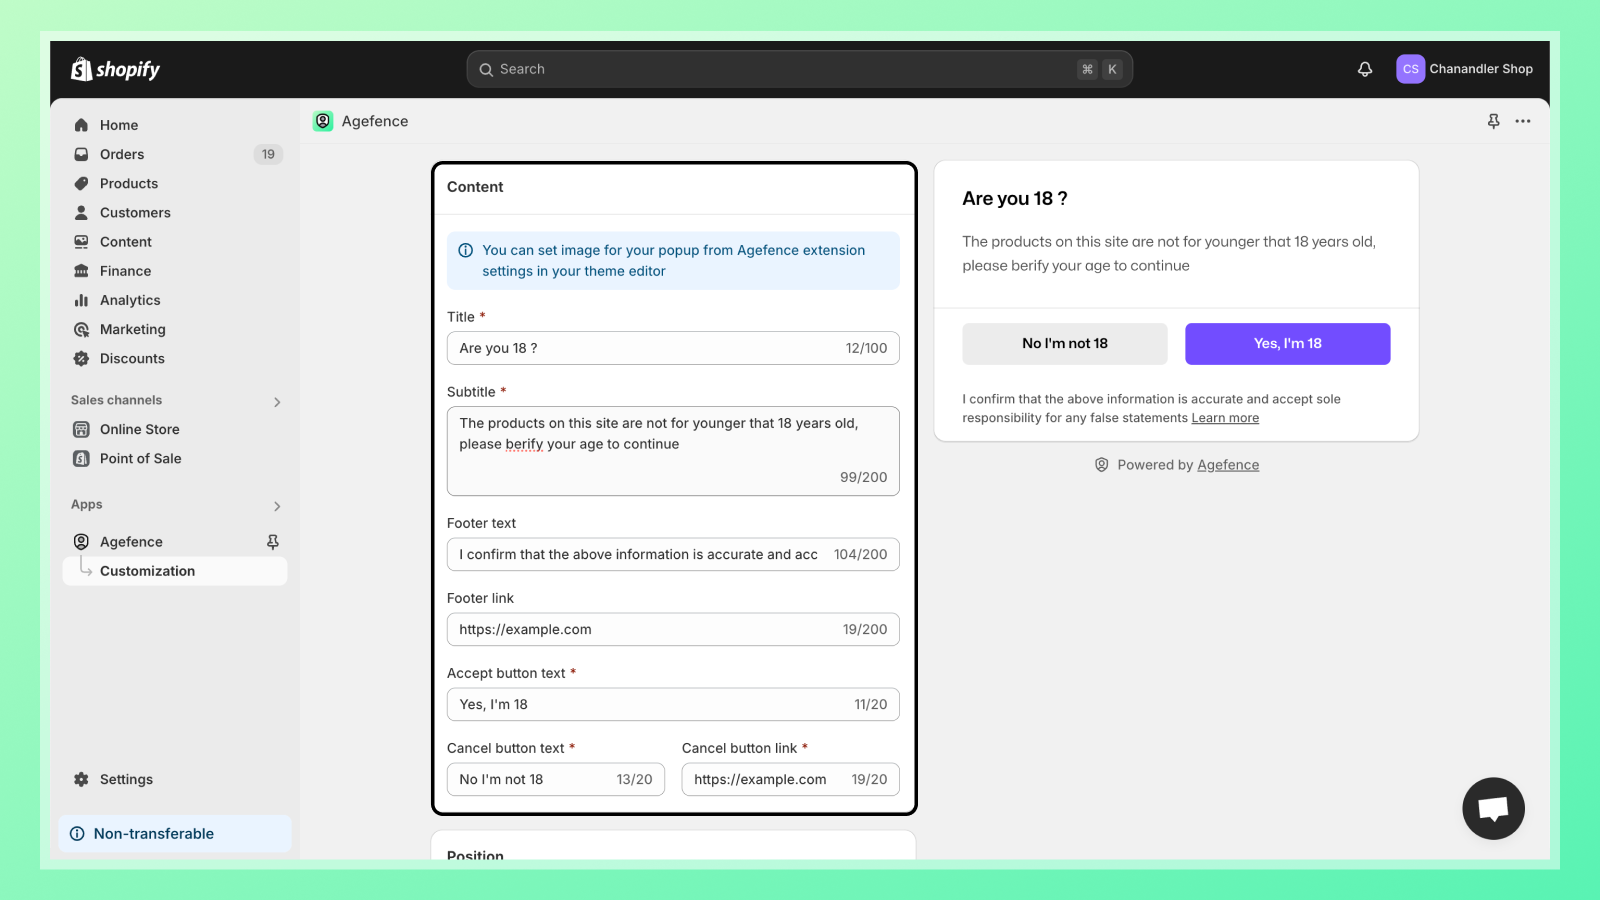
Edit Popup Content
- You can modify the popup's title, caption, buttons, and footer text.
- Enter the desired text in the input fields and click Save.
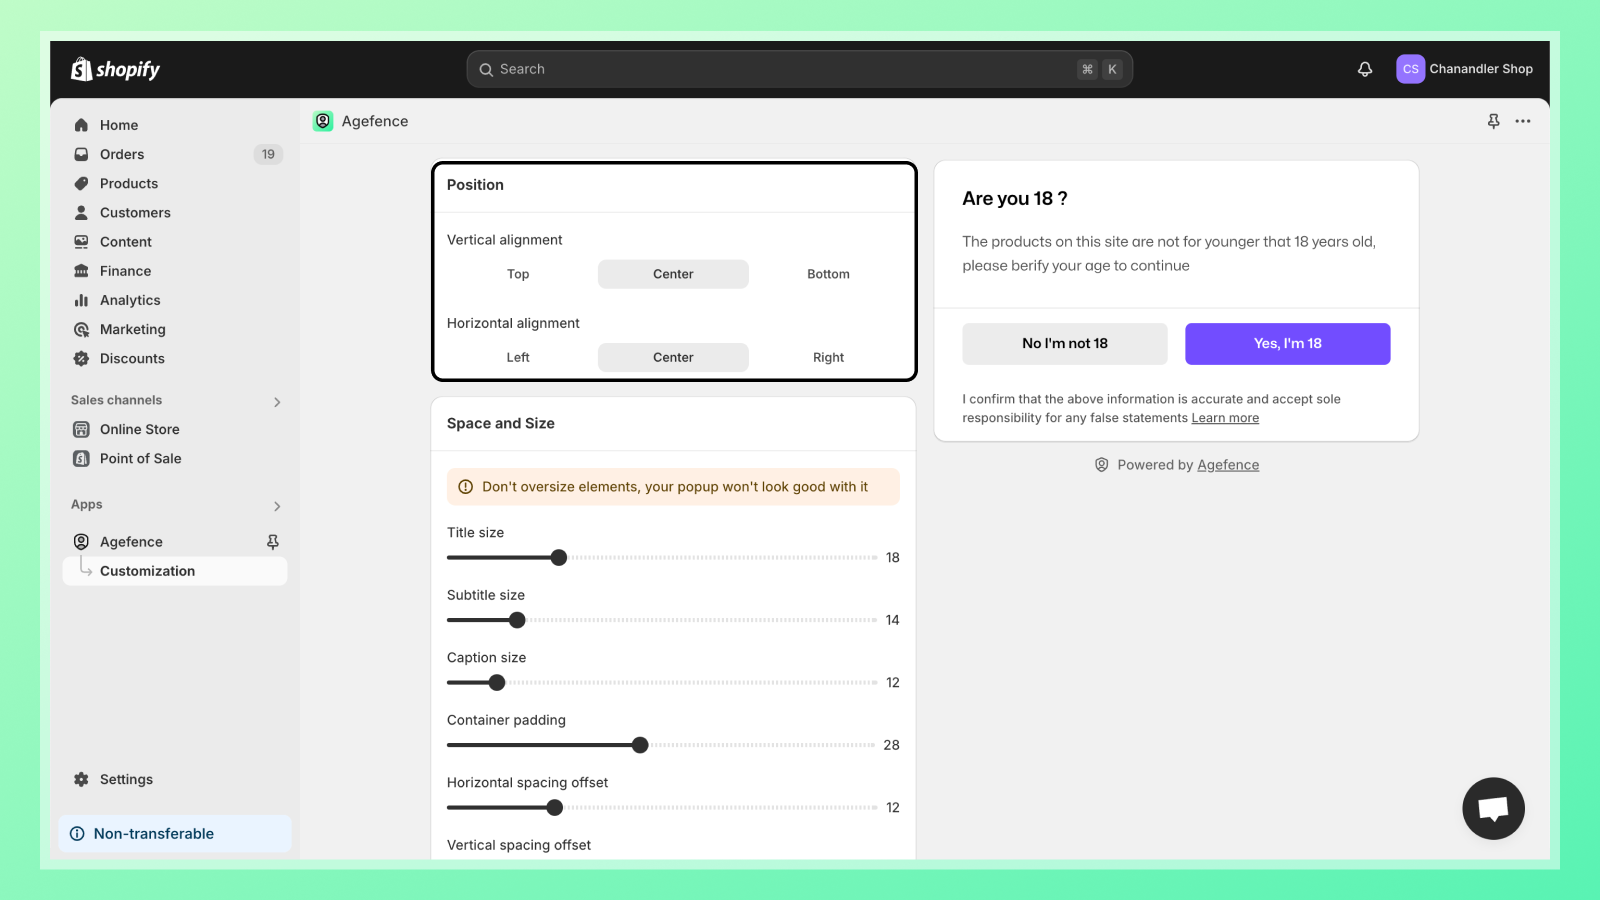
Position the Popup
- Adjust the popup's position on the page using the vertical and horizontal alignment options.
Customize Popup Theme
- In the Design and Font section, customize the popup's color scheme.
- Adjust colors for various components to align with your brand.
What's Next?
Now that you've customized your age verification popup, you can proceed to explore the Agefence Pricing options.